How to Make Your Manicure Last Longer: 15 Proven Tips
There is nothing more frustrating than spending an hour on a fresh manicure, only to spot a chip by the very next morning. If that sounds familiar, you are not alone — and the good news is that chipping and peeling are almost never about bad luck or cheap polish. Learning how to make your manicure last longer comes down to a handful of specific techniques, most of which have nothing to do with the brand of polish on your shelf.
This guide combines professional nail-technician application science with dermatologist-backed nail health guidance — drawing on recommendations from the American Academy of Dermatology and Mayo Clinic — to give you a complete, honest playbook. You will find tips covering prep, application, and aftercare, plus a troubleshooting section for when things still go wrong despite your best efforts.
Let us get into it.
Why Your Manicure Does Not Last as Long as You Would Like
Before jumping into the tips, it helps to understand what is actually happening when polish chips or lifts.
Nails are made of keratin — a fibrous protein that is naturally slightly porous and flexible. They expand and contract in response to moisture, temperature, and pressure. Every time your nail flexes, it creates microscopic stress between the nail plate and the polish sitting on top of it. The moment any small gap opens between those two surfaces, air and water get in — and that is when a chip or lift begins.
Nail length plays a bigger role than most people realize. Longer nails act like a lever, multiplying the force applied at the base near the cuticle every time the tip of the nail contacts a hard surface. This is one reason dermatologists and nail technicians consistently recommend shorter, rounder shapes for better wear — something we will cover in detail under Tip 2.
Here is the most important thing to understand before reading any further: nail care experts consistently attribute most cases of early chipping to prep failure, not product quality. Eighty to ninety percent of premature chips trace back to something that happened — or did not happen — before the first drop of color was ever applied. Keep that in mind as you work through these fifteen tips.
How Long Should Each Manicure Type Actually Last?
Before troubleshooting your wear time, it is worth knowing what “normal” looks like for each polish type. These are realistic averages based on professional application with proper prep and aftercare:
| Manicure Type | Expected Wear Time | Notes |
|---|---|---|
| Regular polish | 4–7 days | Chips fastest at tips; top coat refreshes can extend to 10 days |
| Gel polish | 2–3 weeks | Requires UV/LED curing; professional removal recommended |
| Dip powder | 3–4 weeks | Very durable but removal process is more involved |
| BIAB (Builder in a Bottle) | 3–4 weeks | Builder gel applied over natural nail; growing in popularity in 2026 |
| Acrylic | 2–3 weeks with fills | The enhancement itself lasts longer; regrowth gap requires infills |
Quick check: If your manicure is chipping well before its expected window, the cause is almost always prep or application — not the product. Upgrading your polish brand rarely solves a technique problem.
Part 1 — Nail Prep Tips (Tips 1–5)
This is the section most people skip, and it is also the section that matters most. Every professional nail educator and dermatologist resource comes back to the same point: polish adheres to a clean, dry, lightly textured nail surface. Anything sitting between your nail plate and the base coat — oil, lotion residue, moisture — is a chipping hazard hiding in plain sight.
Tip 1 — Cleanse and Dehydrate Your Nails First
Even freshly washed hands carry enough natural skin oil on the nail surface to weaken adhesion. The solution is a targeted dehydration step: wipe each nail with a lint-free pad soaked in isopropyl alcohol (70% works well) or a dedicated nail dehydrator, right before you apply your base coat.
Do not use soap and water alone for this step. Water adds moisture to the nail plate — the opposite of what you want immediately before polish. Alcohol evaporates quickly and takes surface oils with it.
Pro tip: Do this step last, after filing, buffing, and pushing back your cuticles. If you do it first and then handle your nails for several more minutes, you will reintroduce oils before you even pick up the brush.
Tip 2 — Shape Your Nails for Durability, Not Just Looks
Nail shape affects wear time more than most DIY tutorials acknowledge. Rounded and squoval (square with softly rounded corners) shapes distribute impact force evenly across the nail tip. Pointed or sharply square-cornered shapes — especially on longer nails — create stress points at the corners where lifting typically begins first.
If you love longer nails, keeping the length moderate rather than dramatic will meaningfully extend your wear time. For shape ideas that balance style and longevity, check out the guide to best nail shapes for summer — many of the recommended shapes in that round-up also happen to wear the best.
Tip 3 — Gently Buff the Nail Surface
A light buff creates microscopic texture on the nail plate — what professionals call “tooth” — that gives polish something to grip. It also smooths out ridges that can cause uneven polish laydown.
The key word here is gentle. One or two light passes with a fine-grit buffer (220-grit or higher) is plenty. Over-buffing thins the nail plate, which makes the whole nail more flexible and more prone to cracking — exactly the opposite of what you are going for. If your nails look visibly shiny after buffing, you have gone too far; the goal is a slightly matte, even surface.
Tip 4 — Push Back (Never Cut) Your Cuticles
The cuticle is a thin seal of protective tissue that bonds the nail plate to the surrounding skin. According to the American Academy of Dermatology, cutting the cuticle breaks this seal and opens the door to bacterial and fungal infection — and contrary to popular belief, it does not actually improve polish adhesion.
Instead, soften the cuticle with a small amount of warm water or cuticle softener, then use a wooden orange stick or metal pusher to gently push the cuticle back. This reveals more of the nail plate and creates a clean, even line for your base coat without any of the infection risk.
Warning: Never force back inflamed, red, or sore cuticles. Persistent cuticle irritation is worth a visit to a dermatologist, especially if you notice pain, swelling, or discharge.
Tip 5 — Never Skip the Base Coat
A base coat does two things: it bonds the polish to the nail plate (improving adhesion) and it creates a barrier that prevents pigment from staining the natural nail. Neither function is optional.
Apply one thin, even layer and let it dry fully before reaching for your color. If you are rushing through the base coat, you are rushing the most important step.
Part 2 — Application Technique Tips (Tips 6–10)
Clean prep gets you to the starting line. What you do next — how you actually apply the polish — determines whether that manicure makes it five days or fifteen.
Tip 6 — Use Thin Coats, Not Thick Ones
This is probably the most consistently cited professional technique across every nail education resource, and also the one most people ignore. The instinct to load the brush and cover the nail in one pass makes intuitive sense — fewer coats, faster finish. But in practice, thick layers trap solvent inside the polish. The outside dries while the interior stays soft, resulting in a surface that dents easily, chips faster, and never fully cures.
Two to three thin coats, each allowed to dry fully before the next, will always outperform one thick coat. A properly thin coat looks slightly sheer as you apply it. If it looks fully opaque on the first pass, you have applied too much.
Tip 7 — Cap the Free Edge With Every Layer
This single technique is the most repeated professional tip across nail education platforms, yet it is rarely explained clearly for home users. Here is exactly what it means: at the end of every brush stroke for every layer — base coat, color, and top coat — swipe the brush horizontally along the very tip of the nail (the free edge) to seal it.
The free edge is the thin exposed rim at the top of your nail. It takes the most direct contact during daily tasks — typing, gripping, opening things — which is why chips almost always start there. Sealing it with each layer builds a reinforced edge that is significantly more resistant to impact.
It takes about two extra seconds per nail. It is probably the single highest-impact thing you can do to extend your wear time.
Tip 8 — Let Each Layer Fully Dry or Cure
For regular polish, patience between coats prevents what professionals call the “crackle” effect — that fine network of tiny cracks that appears when polish dries unevenly. Apply each coat, wait until the surface is completely dry to a gentle touch, then apply the next.
For gel polish, the situation is slightly different but equally important. Under-curing — placing a too-thick layer under the lamp, or using a lamp with weakened bulbs — produces gel that looks cured on the surface but remains soft underneath. That invisible softness leads to chipping within days, and there is no way to diagnose it by eye at application time.
Pro tip: UV/LED lamp bulbs lose intensity over time without any obvious warning. If your gel manicures have been lifting sooner than they used to with the same technique, an aging lamp could be the cause. Consider replacing your lamp’s bulbs — or the lamp itself — periodically, especially if it gets heavy use.
Tip 9 — Keep Polish Off the Skin and Cuticles
Any polish that touches the surrounding skin rather than the nail plate acts as a pull point. As skin moves and flexes throughout the day, it gradually lifts the edge of the polish, creating a gap where moisture and air enter.
The cleanest technique: apply polish in three strokes (one down the center, one down each side), leaving a hairline gap between the polish and the skin. For precision cleanup, a small angled brush dipped in pure acetone works far better than the skin-clean pens sold in most pharmacies.
Tip 10 — Finish With a Quality Top Coat (and Refresh It)
A top coat seals the color, adds gloss, and provides a sacrificial layer that takes the daily wear so your color does not have to. Apply one thin, even layer over fully dried color, remembering to cap the free edge as described in Tip 7.
More importantly: do not treat the top coat as a one-time application. Refreshing with a thin layer of top coat every two to three days — including over the free edge — meaningfully extends wear time for both regular and gel manicures. It takes under five minutes and can add a full week of life to a regular polish manicure.
Part 3 — Aftercare and Lifestyle Tips (Tips 11–15)
A great application can still be undone in the first 24 hours by the wrong habits. These tips cover what happens after the polish goes on.
Tip 11 — Wear Gloves for Dishes, Cleaning, and Gardening
Hot water is polish’s most reliable enemy. Repeated soaking softens the nail plate, causes it to expand slightly, and breaks down the bond between the nail and the polish above it. Add the detergents in dish soap or household cleaners — which strip the natural oils from the nail surface — and you have a very efficient chipping machine running for twenty minutes at a time.
The American Academy of Dermatology specifically recommends wearing rubber or latex gloves for water and chemical exposure. A pair of lined gloves costs a few dollars and genuinely changes how long your manicure holds up.
Tip 12 — Avoid Hot Water Soaks for the First 24 Hours
Freshly applied or cured polish continues to settle and harden for the first day after application. A long hot bath, a swim, or extended dishwashing during this window causes more lifting than the same activity a week later. If at all possible, plan your manicure at a time when you can avoid prolonged water contact for the first 24 hours.
Tip 13 — Moisturize Your Cuticles and Nail Bed Daily
Dry, brittle nails crack more easily than hydrated, flexible ones — and cracked nails cause polish to crack along with them. Daily cuticle oil application keeps the nail flexible from the inside out, reducing brittleness-driven chipping that no amount of thick top coat can fully prevent.
Jojoba oil is frequently recommended by dermatology sources because it closely mimics the skin’s natural sebum and absorbs efficiently. Apply a small drop to each cuticle and gently massage it in, especially after hand washing. Follow up with hand cream on the skin around the nail — not on the nail surface itself, where it will weaken the top coat.
Tip 14 — Use Your Fingertips, Not Your Nails, as Tools
Opening a soda can. Peeling a sticker. Scratching off a price tag. Prying open a stubborn jar lid. Every one of these common actions applies a sharp, concentrated force directly to the tip of the nail — exactly where the polish is most vulnerable.
The habit shift is simple: consciously use the pads of your fingertips instead of your nail tips for these tasks. It feels slightly awkward for the first day or two, then becomes automatic. This one behavioral change alone can double the lifespan of a regular polish manicure for people who are naturally hard on their nails.
Tip 15 — Store Polish Properly and Get Professional Removal
Polish you store incorrectly today becomes a chipping problem in your next manicure. Heat degrades the solvents and pigments inside the bottle, changing the formula’s viscosity and adhesion quality. Store nail polish upright, at room temperature, away from direct sunlight and heat sources. A bathroom cabinet or drawer works well; a sunny windowsill does not.
For gel, dip powder, and acrylic manicures, professional soak-off removal is not optional for nail health — it is genuinely important. The American Academy of Dermatology warns that picking or peeling these products off forcibly pulls layers of the actual nail plate with them, leading to thinning and weakness that compounds with every removal. Soaking in acetone, or visiting a salon for removal, protects the natural nail so your next manicure has a healthy surface to adhere to.
Troubleshooting — Diagnose Why Your Manicure Is Failing
If your manicure consistently fails in a particular pattern, the pattern itself tells you what is going wrong. Use this quick diagnostic to identify the cause.
Chipping at the Tips
Most likely cause: Skipping the free-edge capping technique, using nails as tools, or a weak top coat that was not refreshed.
Fix: Focus on Tip 7 (cap every layer at the free edge), apply top coat every two to three days, and be mindful of using nail tips as tools throughout the day.
Lifting Near the Cuticle
Most likely cause: Polish touching the surrounding skin at application, or insufficient dehydration in the prep step.
Fix: Revisit Tip 1 (dehydrate before applying) and Tip 9 (leave a hairline gap between polish and skin). Use an angled cleanup brush to remove any polish touching skin before it dries.
Peeling Off in Sheets
Most likely cause: Skipped base coat, or an oily nail plate at the time of application.
Fix: Never skip the base coat (Tip 5). Make sure your alcohol wipe step (Tip 1) happens immediately before the base coat goes on — not twenty minutes earlier.
Cracking or Looking Brittle
Most likely cause: Thick coats that trapped solvent (Tip 6), under-curing in gel applications (Tip 8), or chronically dehydrated nails underneath the polish.
Fix: Switch to thin coats, verify your lamp is curing properly if you use gel, and add daily cuticle oil to address underlying nail brittleness (Tip 13).
Seasonal Considerations for a Longer-Lasting Manicure
Your manicure does not exist in a climate-controlled vacuum. Summer and winter each create distinct challenges worth preparing for.
Summer
Humidity slows the drying time of regular polish, increasing the window during which your nails are vulnerable to smudging and denting. Sweat and sunscreen — particularly those with oily SPF formulas — can work their way under the edge of polish over time if the free edge was not properly sealed.
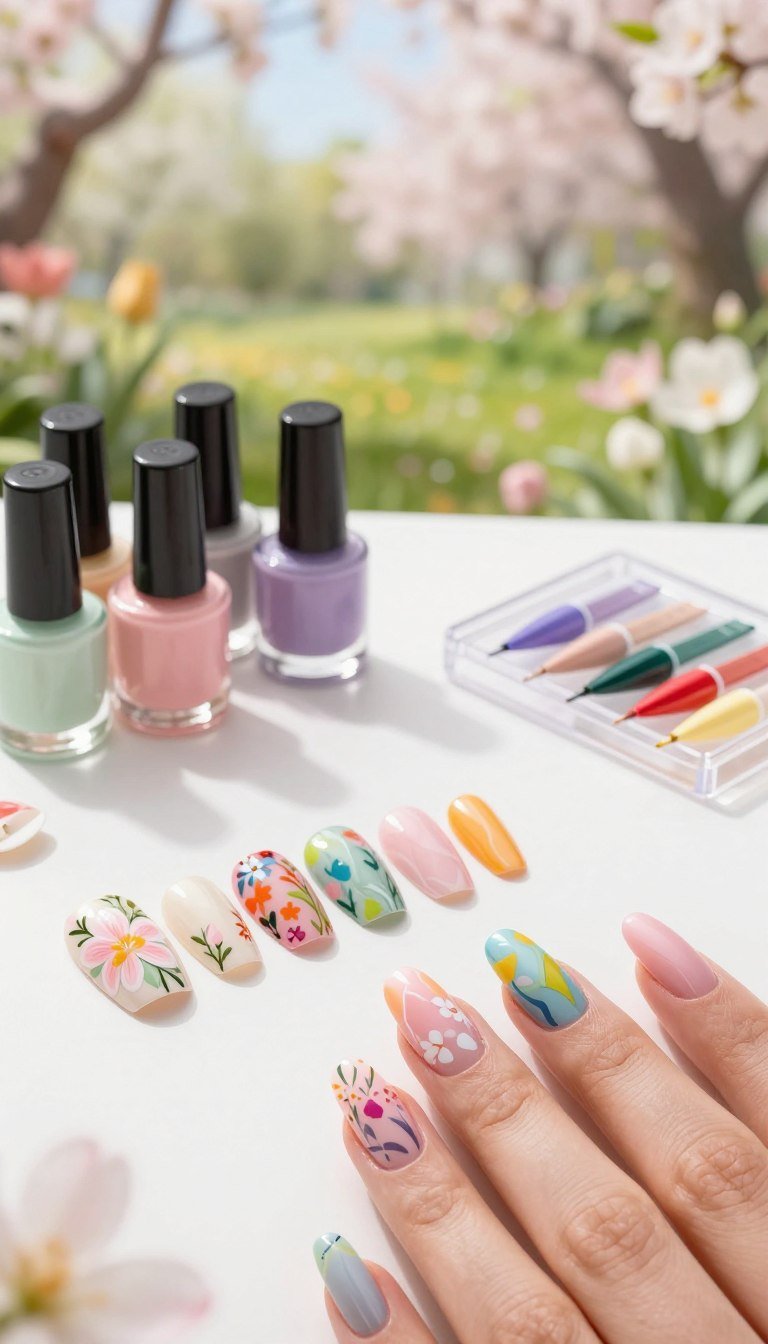
For those spending time near water, chlorine and saltwater are particularly harsh on polish adhesion. If you are planning a beach or pool day, check out these beach nail tips for maintaining your look when sun and sea are involved. For color ideas that look fresh in the heat, the guide to the best summer nail colors for 2026 has a solid round-up of shades that photograph beautifully and hold up well in warm weather.
Winter
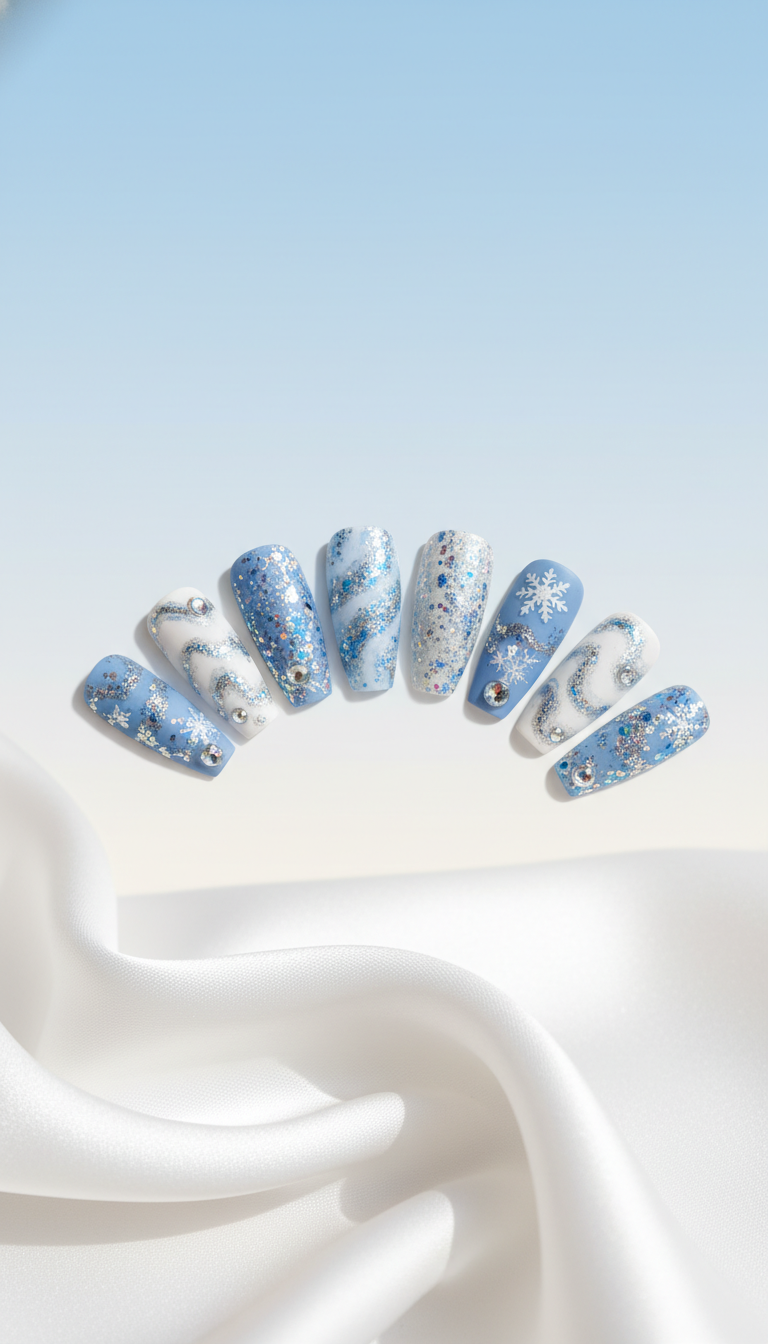
Cold outdoor air and dry indoor heating together dehydrate the nail plate more aggressively than any other season. Dehydrated nails become brittle and crack more easily, and polish cracks along with them — especially in the stress zones at the very tip and the corners. Daily cuticle oil becomes non-negotiable in winter rather than optional. For nail look inspiration once you have nailed (no pun intended) the longevity side of things, check out these stunning icy nail ideas for winter.
Choosing Colors and Finishes That Wear Better
The shade and finish you choose plays a subtle but real role in how long your manicure appears to last — even if the polish underneath is holding on perfectly.
Light, bright, and highly pigmented shades are the least forgiving. A small chip on a white nail is immediately visible from across the room. A small chip on a deep burgundy or a skin-tone nude blends in and is often invisible until you are looking carefully. This is not a reason to avoid bold colors — just a practical reality to factor in.
Glossy finishes tend to show tip wear (a dull, matte-ish strip at the free edge) before the polish actually chips. Refreshing your top coat every few days eliminates this visible wear signal and genuinely extends life. Matte top coats, while beautiful, are slightly more difficult to refresh seamlessly.
Before committing to a shade, the Nail Palette Studio virtual color preview tool is worth trying — settling on a color you love before you apply it reduces the temptation to redo a perfectly intact manicure just because you are not feeling the shade anymore.
Common Mistakes That Sabotage Your Manicure
Even with good technique across all fifteen tips, certain habits consistently undo the work. These are the most common culprits:
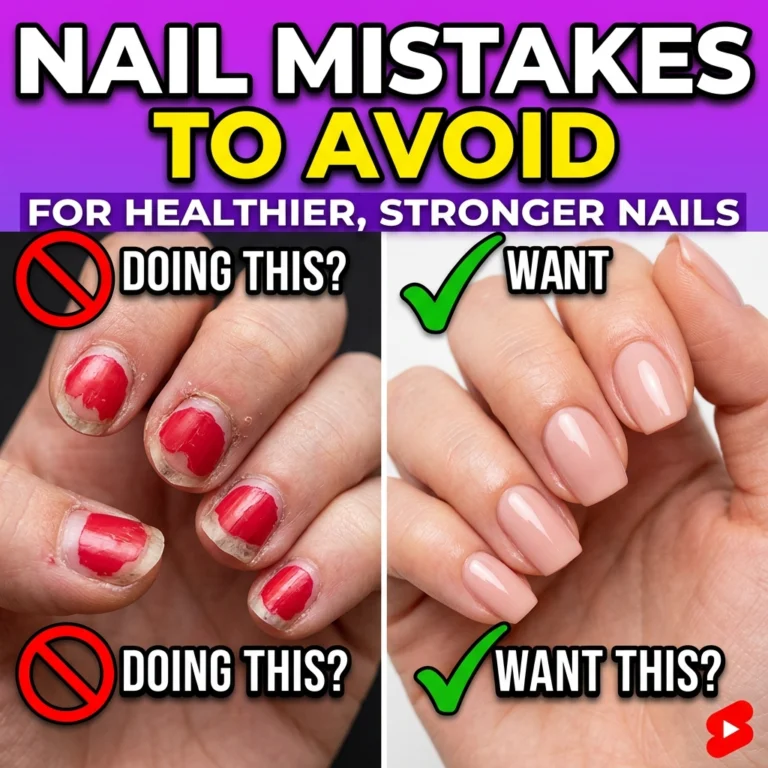
- Skipping prep entirely. Not dehydrating, not buffing, going straight to base coat over an oily nail plate. This is responsible for more chip complaints than any other single mistake — you can read more about why in this guide to common nail mistakes that weaken your nails.
- Shaking the polish bottle. Shaking introduces air bubbles into the formula, which surface as tiny craters in your finished coat. Roll the bottle between your palms instead.
- Painting over old, chipped polish. Adding a fresh coat over a compromised base does not restore the manicure — it adds weight to an already compromised surface. Always remove completely and start fresh.
- Going straight to hot water or chores right after application. Even polish that feels dry to the touch is not fully hardened. Give it at least one to two hours before any extended water exposure.
- Picking at the edges when a small chip appears. One small chip can hold for days if left alone. Picking at it peels the surrounding intact polish away from the nail, turning a minor chip into a full removal situation.
Manicure Myths vs. Facts
A few persistent ideas about nail care and manicure longevity keep circulating despite being consistently contradicted by dermatology and cosmetic science.
Myth: Nails need to “breathe” between manicures. Fact: Nails are composed of dead keratin cells. They do not respire and do not require air exposure to stay healthy. Nutrients and oxygen reach the nail matrix through the bloodstream — not through the nail surface. A periodic break from polish is beneficial for other reasons (it allows you to inspect nail health and gives the nail plate time to recover from chemical exposure), but “breathing” is not a scientifically accurate reason for it.
Myth: Biotin or gelatin supplements will make your manicure-ready nails grow faster or stronger. Fact: While overall nutritional health supports nail quality, no ingested supplement has been shown in controlled studies to meaningfully speed nail growth or improve polish adhesion in people who are not already deficient.
Myth: Filing your nails after gel polish is applied “breaks the seal” and ruins the manicure. Fact: Light shaping of the free edge immediately after curing is fine and does not compromise a properly cured gel manicure. The real risk comes from filing aggressively into the cured polish surface itself or filing sideways across a layer that has not been properly capped.
Pro Tips From Nail Technicians
A few insights that professional nail educators consistently share, summarized from multiple professional training contexts:
Prep philosophy: The professional consensus, articulated by educators across major gel brands and nail academies, is that the prep stage is where 80% of longevity is won or lost. Time spent on prep always pays off more than time spent on application technique.
Thin to win: This is probably the most widely used shorthand in professional nail education for the principle behind Tip 6. The idea is that no matter how much faster one thick coat seems, two or three thin coats produce a harder, more durable result every time.
The 24-hour rule: Many professional nail technicians advise clients to treat their nails as “still curing” for the first 24 hours after a regular polish or gel manicure — even if everything feels dry. Avoiding prolonged water exposure, wearing gloves for household tasks, and skipping the gym sauna for one day makes a measurable difference in first-week wear.
Frequently Asked Questions
How long should a manicure normally last?
It depends on the type. A well-applied regular polish manicure should last four to seven days; gel lasts two to three weeks; dip powder and BIAB both average three to four weeks. If your manicure is chipping before these windows, the cause is almost always prep or application rather than the product itself.
Why does my nail polish chip the next day?
Next-day chipping almost always points to one of two causes: inadequate prep (oil or moisture on the nail plate at application) or coats that were too thick and never fully dried. Revisit the dehydration step (Tip 1) and commit to genuinely thin coats (Tip 6).
Does cutting my cuticles help my manicure last longer?
No. According to the American Academy of Dermatology, cutting the cuticle removes the protective seal at the base of the nail, increasing the risk of infection without any benefit to polish adhesion. Gently pushing the cuticle back achieves the same clean look without the downsides.
Is it bad to leave gel polish on for too long without a break?
The American Academy of Dermatology recommends periodic breaks from gel manicures for nail health. Extended continuous wear can lead to nail dehydration and thinning, particularly if the polish is removed improperly. A break of one to two weeks between gel manicures allows the natural nail to recover.
What is the single best thing I can do to prevent chipping?
Proper dehydration prep combined with capping the free edge at every layer. If you only implement two things from this guide, those two together will produce the most noticeable improvement in wear time.
Do nails really need to “breathe” between manicures?
No. Nails are dead keratin and receive oxygen and nutrients through the bloodstream, not through the nail surface. An occasional break from polish is reasonable for nail health monitoring and recovery from chemical exposure, but “breathing” is not the accurate reason.
Why does my gel manicure peel off in one piece?
A gel manicure peeling off in one sheet typically indicates oil on the nail plate at the time of application or under-curing. If the gel lifts cleanly without damage to the natural nail, it means adhesion never fully formed — usually a prep issue. See Tip 1 and Tip 8.
Does a thicker top coat make my manicure last longer?
No. Thick top coat layers are actually more prone to peeling than thin ones. Apply one thin, even layer and refresh with another thin layer every two to three days — this approach is more effective than one heavy application.
Final Takeaway
Learning how to make your manicure last longer is genuinely less about finding the right product and more about building a consistent process. Prep takes the most work and delivers the most return. Technique — especially thin coats and capping the free edge — turns a decent prep into a durable result. Aftercare protects that result against the wear of daily life.
No single step in this guide is complicated. But each one compounds on the others. A manicure built on solid prep, applied with patience, and protected with daily cuticle oil and a bi-weekly top coat refresh can last nearly twice as long as the same polish applied with rushed technique on an unprepped nail — regardless of brand.
Work through the list methodically over your next few manicures rather than trying to change everything at once. Pick the two or three tips that address your specific chip pattern (refer back to the troubleshooting section), and add more from there. You will see the difference before you finish the bottle.
For more nail care guidance, explore the full collection of nail care tips and trends at Nail Look Ideas — and if you are planning a manicure for a special occasion, the wedding nail ideas guide is worth bookmarking for when you need your manicure to hold up for more than just a regular Tuesday.