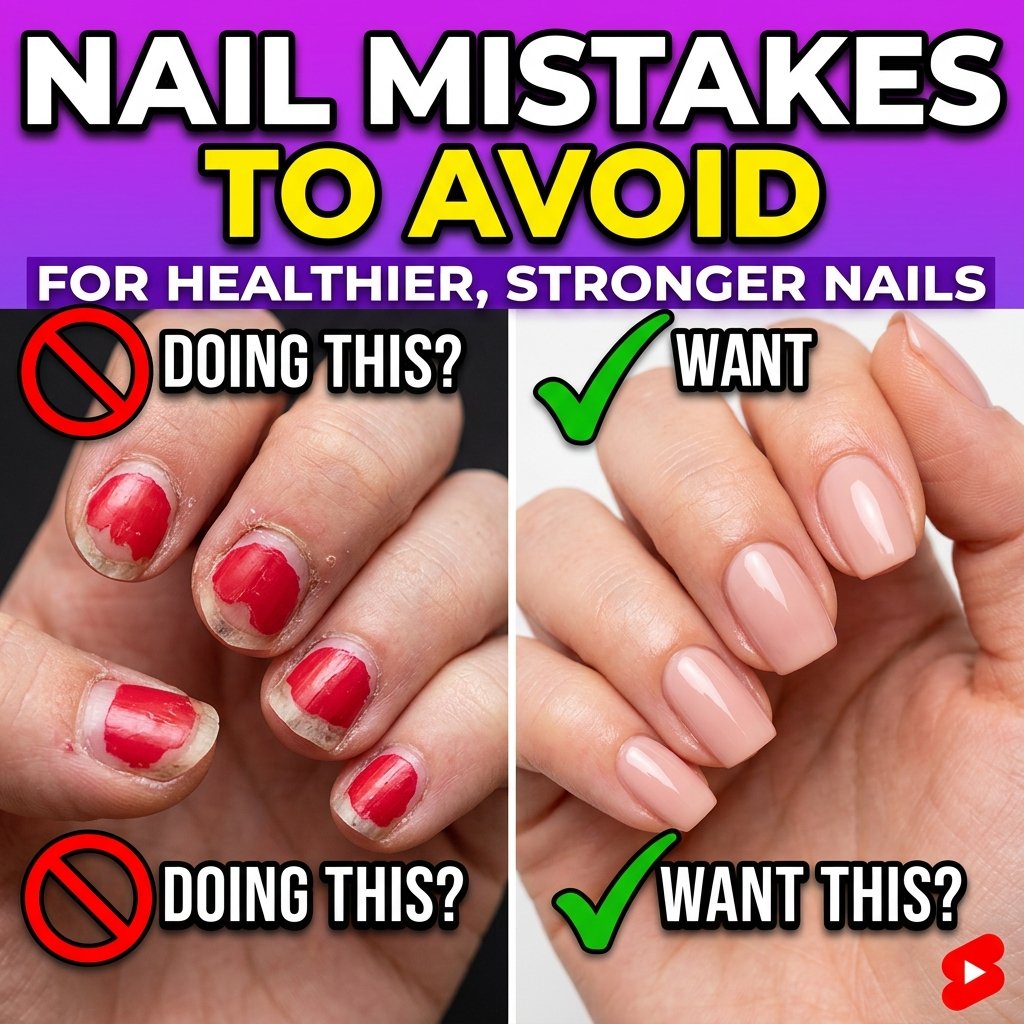
Nail Mistakes to Avoid for Healthier, Stronger Nails
Your manicure chips two days in. Your gel lifts at the edges by day four. Your nails snap right when they finally reach a decent length. Sound familiar?
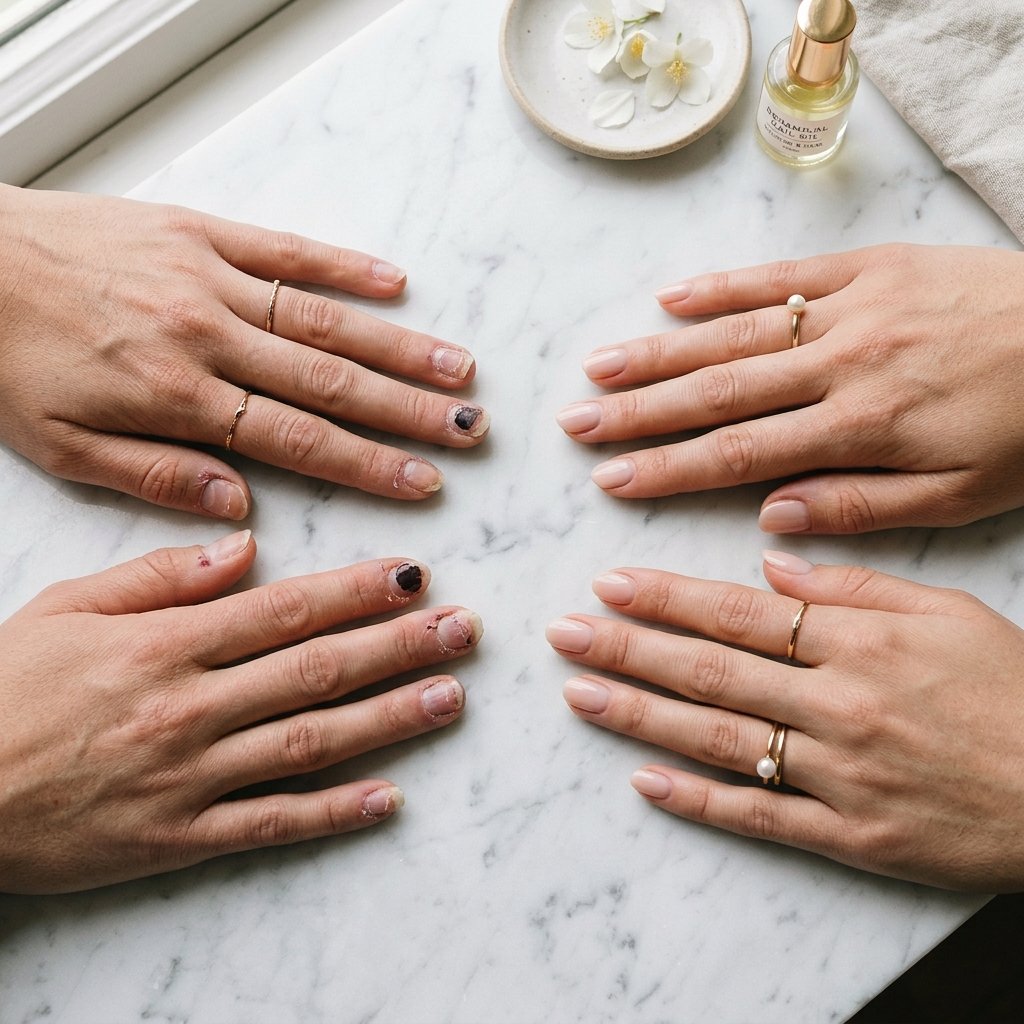
Most nail problems aren’t bad luck — they’re the result of small, fixable habits. The nail mistakes to avoid are often the ones hiding in plain sight: the way you file, how you prep, what you skip in your routine. Once you know what they are, they’re remarkably easy to correct.
This guide covers the most common mistakes across every category — basic nail care, nail polish, gel nails, acrylic nails, hygiene, and even the myths that quietly mislead your routine. You’ll also find guidance on when a nail issue is worth a dermatologist visit, because sometimes what looks like a cosmetic problem is something more.
Before you start your next manicure, try our virtual nail color preview tool to test shades before committing — it pairs well with the prep tips in this guide.
Basic Nail Care Mistakes You’re Probably Making Every Day
These are the foundation mistakes. Fix these first, and everything else — your manicure longevity, your nail strength, your overall nail health — gets noticeably better.
1. Using Your Nails as Tools
The habit is so automatic that most people don’t even register it: prying open a can lid, peeling a label, unclipping a clasp, scratching off a sticker. Each of these actions puts sudden lateral force on the nail plate — force it wasn’t designed to handle.
Natural nails and enhancements alike are vulnerable here. The result is cracks, splits, and stress fractures that often start at the free edge and work their way back.
The fix: Keep a small multi-tool, scissors, or letter opener nearby. It feels inconvenient until the habit sticks — after that, it’s just how you operate.
2. Filing in a Back-and-Forth Sawing Motion
Filing back and forth across the nail tip creates microfractures in the nail plate. Over time — and sometimes in one session — this causes fraying, splitting, and a rough edge that catches on everything.
The correct technique is to file in one direction only, moving from the side of the nail toward the center. Use a fine-grit emery board rather than a coarse metal file, which removes too much material too quickly.
Buffing is subject to the same rule. Buffing more than once a week, or pressing too hard, thins the nail plate and makes nails more flexible and prone to bending under pressure.
3. Cutting or Ignoring Cuticles
There’s a persistent belief that cuticles should be cut back for a cleaner look. Dermatologists consistently advise against it. According to the American Academy of Dermatology, the cuticle serves as a natural seal that protects the nail matrix — the living tissue where new nail cells are produced — from bacteria and environmental damage.
Cutting cuticles aggressively leaves that barrier open to infection and inflammation. It can also slow nail growth by disrupting the matrix.
The better approach: Soak fingers in warm water for a few minutes to soften the skin, then gently push the cuticle back with a rubber or wooden cuticle pusher. Follow with a cuticle oil applied daily — this keeps the skin supple, prevents hangnails, and significantly reduces cracking and peeling at the nail base.
4. Skipping Base Coat
A base coat isn’t just a nice extra step — it does three distinct jobs: it protects the nail plate from staining, it creates a sticky surface for polish to bond to, and many formulas actively strengthen or hydrate the nail while you wear your color.
Without a base coat, dark and pigment-heavy polishes can leave the nail plate yellowed for weeks. Polish also chips faster because it’s bonding directly to a smooth, slightly oily surface rather than a proper adhesion layer.
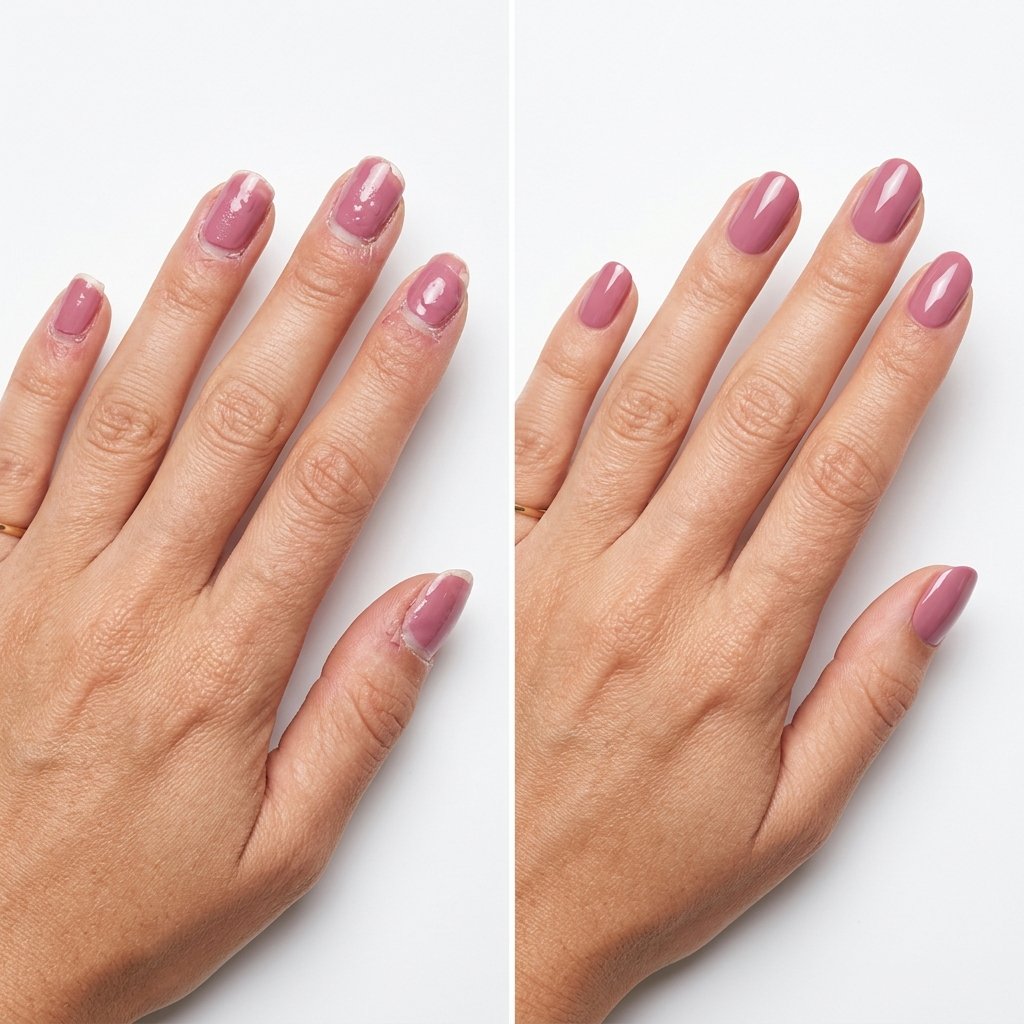
The fix: Apply a thin, even layer of base coat before every manicure. Allow it to dry before adding color. Think of it as primer — skipping it is like skipping the primer before painting a wall.
5. Not Reapplying Top Coat
Top coat seals and protects everything below it. But it wears down faster than the color underneath, and once it goes, chipping accelerates quickly.
Reapplying a thin layer of top coat every two to three days — just across the tips and over the surface — can extend a manicure by several extra days. Make sure to cap the free edge (the tip of the nail) when you do; that’s where chips almost always originate.
6. Applying Polish in Thick Layers
Thick polish coats are one of the most common reasons manicures don’t last. The surface dries and looks done while the layers underneath remain soft, prone to denting, smudging, and eventual peeling as the polish shrinks unevenly as it cures.
Two to three thin, even coats — each allowed to dry before the next is applied — creates a harder, more durable finish than one or two thick coats.
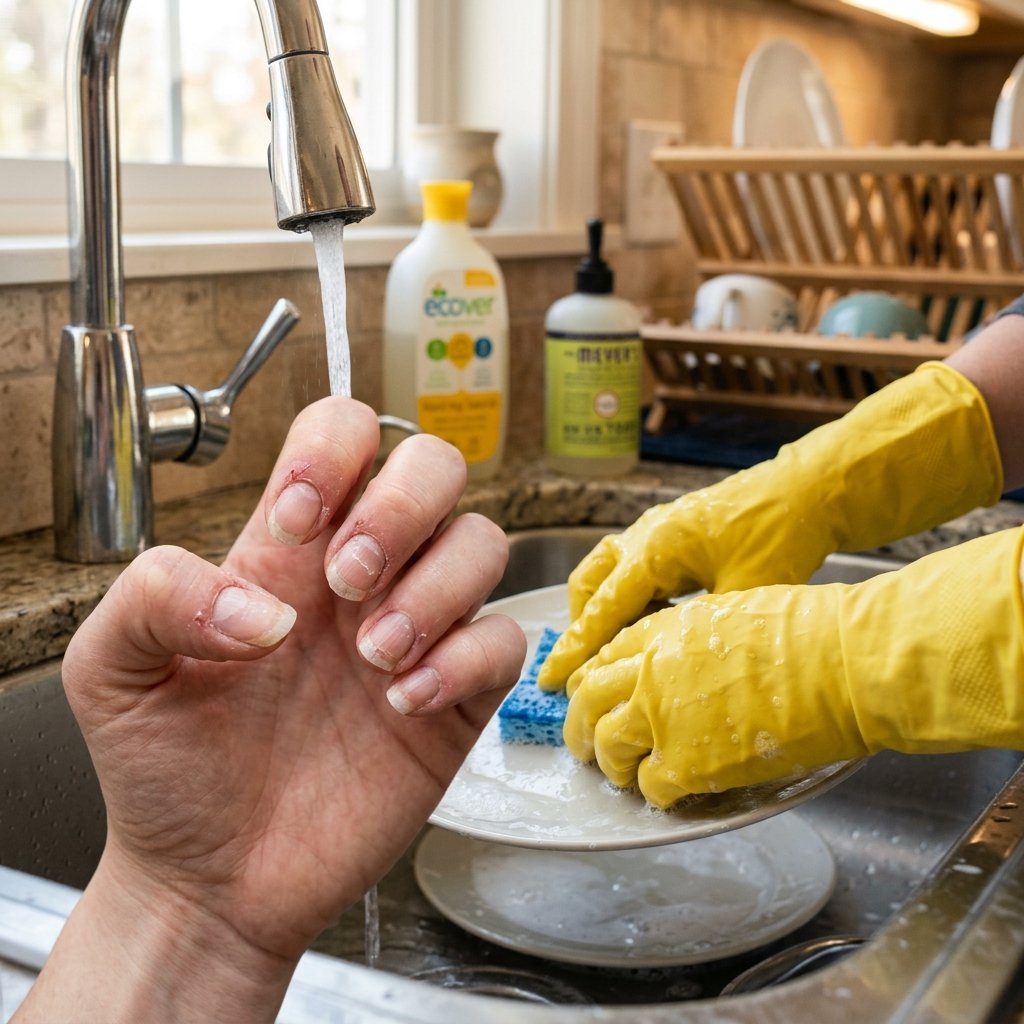
7. Exposing Nails to Too Much Water Without Protection
Water causes the nail plate to temporarily expand. When it dries, it contracts. Repeated cycles of expansion and contraction gradually weaken the nail’s structure and break down the bond between the nail and any coating on top of it.
Dishwashing, long baths, and cleaning without gloves are the primary culprits. Mayo Clinic and the AAD both recommend wearing cotton-lined rubber gloves for wet housework. It sounds tedious the first few times — and then becomes second nature.
If you’re planning a beach or pool day, the same principle applies. Our guide to summer beach nail ideas that actually last pairs well with understanding this before you go.
Nail Polish Mistakes That Shorten Your Manicure
8. Painting Over Chipped or Old Polish
It’s tempting to add a fresh coat on top of a chip rather than start over. But old polish creates an uneven surface that causes the new layers to lift faster. You also risk trapping air, which creates bubbles and an uneven finish.
Always remove old polish completely, prep the nail surface, and start fresh. The few extra minutes are worth the days of additional wear.
9. Using Dark Colors Without a Stain-Blocking Base Coat
Highly pigmented polishes — deep reds, navy blues, rich berries — contain dyes that penetrate the nail plate if there’s no barrier between them. The result is yellowed nails that look stained long after you’ve removed the color.
A ridge-filling or stain-blocking base coat prevents this entirely. If you love wearing bold or dark shades — and our 12 best summer nail colors guide has no shortage of them — treat the base coat as mandatory, not optional.
10. Using Acetone Removers Too Frequently
Acetone is effective, but it strips the natural oils from the nail plate and surrounding skin with every use. Nails that are repeatedly exposed to acetone become dry, brittle, and prone to peeling.
For regular polish removal, an acetone-free remover is gentler and sufficient. Acetone-based removers are best reserved for gel and acrylic removal, where the stronger formula is actually needed. Whichever you use, follow removal with cuticle oil and hand cream applied immediately — this restores moisture before it has a chance to escape from the nail.
Gel Nail Mistakes That Cause Lifting, Bubbling, and Peeling
Gel manicures are wonderful when they work — and consistently frustrating when they don’t. Most gel failures trace back to one of these mistakes.
11. Skipping or Rushing Nail Prep
Prep is the single most important step in any gel application. If there’s any oil, residue, dust, or uneven surface on the nail plate before the gel goes on, the product has nothing to properly bond to.
Proper prep includes: removing old product completely, gently buffing the nail surface to remove shine, dehydrating the nail plate with a nail prep solution or dehydrator, and making sure no hand cream, lotion, or oil has been applied that day. Even touching your face or hair before applying gel can transfer enough oil to cause lifting.
This is the step most DIY gel applications skip or rush — and it’s almost always why the gel starts lifting within days.
12. Applying Gel Polish in Thick Layers
The same principle that applies to regular polish applies even more critically to gel: thick layers don’t cure evenly. The light from a UV or LED lamp penetrates only so deep, so a thick application may cure on the surface while remaining soft and uncured underneath.
This leads to bubbling, wrinkling, a gel service that peels in sheets, and — over time — potential skin sensitization from uncured photoinitiators sitting against the nail bed.
Apply gel in thin, controlled layers. Build coverage gradually. Cure each layer fully before adding the next.
13. Flooding the Cuticle Area
When gel touches the skin at the cuticle line, it has nowhere to adhere properly. The result is lifting that starts at the base of the nail — usually visible within the first week.
Leaving a 1–2mm gap between the gel product and the cuticle line is the standard professional technique. It requires a controlled brush angle and deliberate application, but it makes a substantial difference in how long the manicure lasts.
14. Under-Curing or Using the Wrong Lamp
Gel products are formulated to cure within specific wavelength ranges. Not all UV/LED lamps are compatible with all gel brands — using the wrong lamp means incomplete curing even if you follow the stated cure time precisely.
Under-cured gel is structurally weak, more likely to lift or chip, and can cause sensitization reactions over repeated exposure. Always match your gel brand to a recommended or compatible lamp, and follow the manufacturer’s cure times layer by layer.
15. Peeling Off Gel Instead of Soaking It Off
This is, without question, the most damaging habit in nail care. When you peel or pick off gel, you’re not just removing the product — you’re removing the top layers of the nail plate along with it. The nail beneath is left thin, uneven, and vulnerable.
Recovery from repeatedly peeling gel can take several months of growth. The correct removal method is the foil soak-off technique: acetone-soaked cotton pads held against each nail with foil wraps, left for 10–15 minutes until the gel lifts cleanly. Or simply have it removed professionally.
16. Waiting Too Long Between Gel Fills
For gel enhancements, a fill — or rebalance — should happen within two weeks of the previous service. As the nail grows, the apex (the highest structural point of the enhancement) migrates forward. Past the two-week mark, the product distribution becomes so uneven that simply filling the growth area creates an imbalanced, overly thick enhancement.
The correct approach when a client comes in past two weeks is to file the old apex completely flat before adding new product — not to chase the growth area and build on top of misplaced structure.
Acrylic Nail Mistakes
17. Under-Preparing the Nail Before Application
Everything said about gel prep applies equally to acrylics. Insufficient dehydration, skipped primer, or improperly buffed nails lead directly to lifting, cracking, and premature service failure.
Buffing the nail plate until no natural shine remains and applying a nail dehydrator before primer are non-negotiable steps. This is especially important for clients with naturally oily nail plates.
18. Incorrect Liquid-to-Powder Ratio
Acrylic application requires achieving the right bead consistency — a small ball of product with the correct balance of liquid monomer and powder polymer. Too wet, and the acrylic will be weak and take too long to set. Too dry, and it’s difficult to work with, sets too fast, and doesn’t adhere properly.
Finding the right ratio takes practice. Beginners should work slowly and check product consistency before applying to the nail.
19. Applying Too Much E-File Pressure
Electric files are powerful tools that remove material quickly. Too much pressure — especially at higher speeds — generates heat at the nail plate and removes nail cells along with any product. This creates permanent thinning that makes nails fragile long after the enhancement has been removed.
The correct technique is light pressure, low speed, and smooth movements that never linger in one spot. Check the nail plate regularly and stop if it feels warm.
20. Prioritizing Appearance Over Structure
A beautiful nail set that lacks correct apex placement and balanced structure will crack, lift, and break long before its time. The apex — the highest point of the enhancement — should sit at roughly the center of the nail plate when viewed from the side. This distributes stress evenly across the nail when it’s under pressure.
A structurally sound set can look just as beautiful as a purely aesthetic one. Learning proper architecture is what separates nail work that lasts from nail work that doesn’t.
Nail Hygiene Mistakes
21. Not Sanitizing Your Nail Tools
Metal nail tools — clippers, cuticle pushers, nippers — can harbor bacteria and fungi between uses. This is true for tools you use on yourself, not just in salon environments.
After each use, wash metal tools with hot, soapy water, then wipe down with rubbing alcohol and dry thoroughly before storing them in a clean, closed bag or case. Single-use files and buffers should be discarded, not shared.
At the salon, it’s entirely appropriate to ask about sterilization practices. Reputable salons use autoclave sterilization for metal tools and single-use files and buffers for each client. For pedicure basins specifically, the EPA has published recommended cleaning and disinfection protocols that salons are expected to follow.
22. Tearing or Picking Hangnails
A hangnail feels like an invitation to pull. Resist it. Tearing a hangnail damages the surrounding skin, introduces bacteria into the nail fold, and often creates a larger wound than the original hangnail.
The correct approach: clip the hangnail cleanly with a sanitized nail scissor or clipper. Apply a small amount of cuticle oil afterward to soothe the area and encourage healing.
23. Keeping Nails Too Long Without Maintenance
Longer nails accumulate bacteria and debris underneath the free edge more readily than shorter, well-maintained ones. Board-certified dermatologist Dr. Shari Lipner of Weill Cornell Medicine recommends keeping nails at a moderate, manageable length — not only for hygiene but because shorter nails are less likely to bend, catch, and break.
This doesn’t mean you can’t wear longer nails. It means those nails need regular cleaning underneath the free edge and consistent maintenance.
Nail Growth Myths That Are Quietly Ruining Your Routine
A surprising amount of nail care advice circulating online — and in long-standing beauty folklore — isn’t supported by science. These myths don’t just waste effort; some of them actively cause harm.
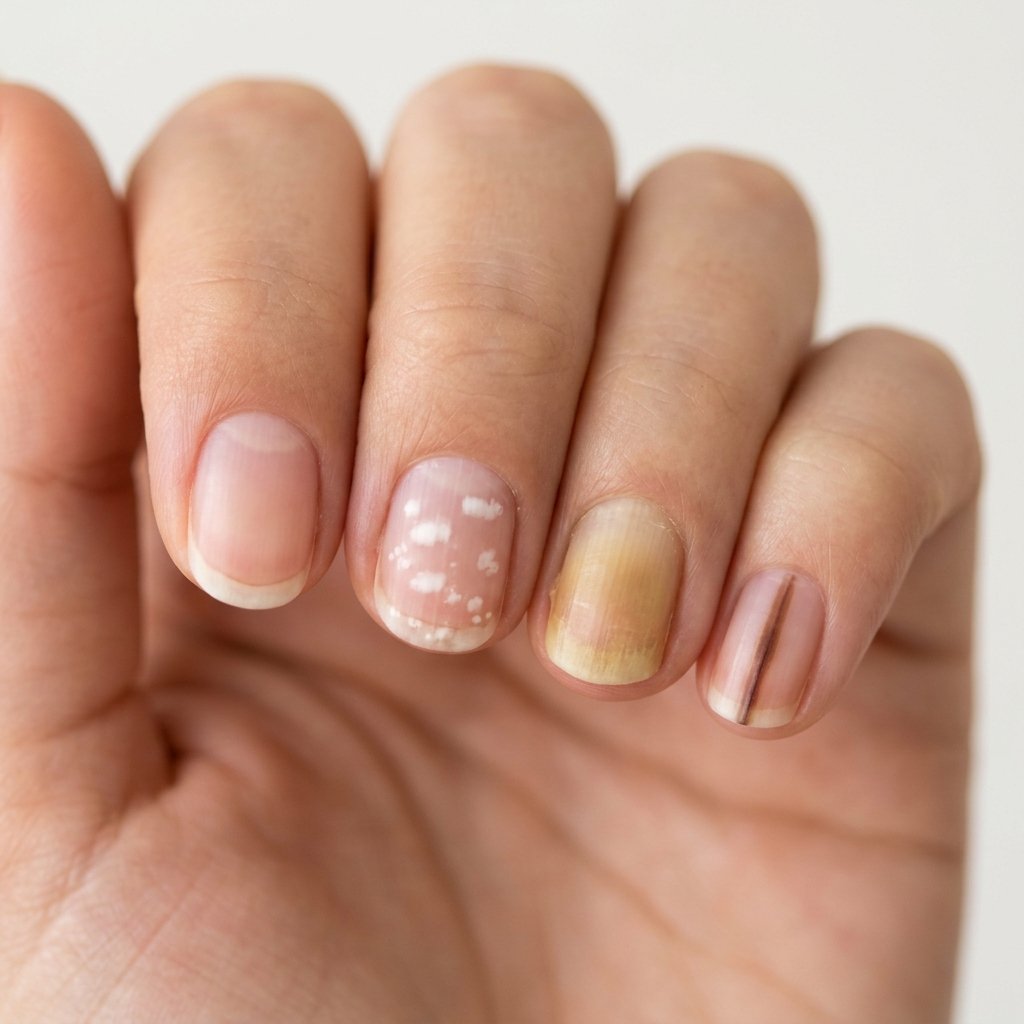
Myth 1: White Spots Mean You’re Calcium Deficient
White spots on the nails — medically called leukonychia — are almost always caused by minor trauma to the nail matrix. A bump, a knock, pressing too hard while filing — any of these can create a group of nail cells that didn’t fully mature and remained opaque rather than translucent.
Calcium has nothing to do with it. Nails are made of keratin, not calcium, so no amount of calcium intake will prevent or resolve these spots. They grow out harmlessly. If spots are persistent, widespread, or accompanied by other nail changes, that’s worth mentioning to a dermatologist — but isolated white spots are almost never medically significant.
Myth 2: Nails Need to Breathe
Nails are made of dead, hardened keratin cells. They don’t have blood vessels, nerve endings, or respiratory function. There is no biological requirement for “breathing time” between polish applications.
The reason some nail professionals recommend polish-free periods has more to do with monitoring nail health and reducing the risk of developing a product sensitivity than with oxygen — but “breathing” isn’t the mechanism.
Myth 3: Biotin Supplements Make Nails Grow Faster
Biotin is often marketed for nail growth and strength. The research is more modest than the marketing suggests: biotin may help in cases of genuine biotin deficiency, but for most people with adequate nutrition, supplementing doesn’t produce meaningful nail growth acceleration.
The American Academy of Dermatology recommends consulting a dermatologist before starting nail supplements — over-supplementing with biotin can interfere with certain lab test results, which is a genuinely practical concern.
If you want your nails to grow longer, the most reliable strategy is preventing breakage: keep nails hydrated with cuticle oil, avoid the mechanical damage outlined above, and be patient. Nails grow approximately 3mm per month.
Myth 4: Cutting Nails Makes Them Grow Faster
Nail growth rate is determined by the nail matrix — the living tissue at the base of the nail. Trimming frequency has no effect on how quickly new cells are produced. Regular trimming supports nail health by preventing snagging, which leads to tears and breaks that set length progress back, but it doesn’t accelerate anything.
Myth 5: Gel and Acrylics Ruin Your Nails
This one is widespread and worth addressing directly. Gel and acrylic products don’t inherently damage the natural nail. The damage — thinning, peeling, weakened plates — comes from improper application, over-filing, or removal by picking and peeling rather than soaking.
With correct prep, application, and proper soak-off removal, enhancements are compatible with healthy natural nails over the long term.
When Your Nail Issue Needs a Dermatologist
Most nail problems are cosmetic and manageable at home with better habits. Some are not. According to the American Academy of Dermatology, the following nail changes warrant a professional evaluation:
- Color changes: Nails that become white, yellow, green, or black — or develop a dark streak running lengthwise
- Shape changes: Unusual curling (clubbing), deep pitting, or ridging that wasn’t there before
- Thickness changes: Nails that dramatically thicken or thin without an obvious cause
- Nail separation: The nail plate lifting away from the nail bed (onycholysis)
- Pain, swelling, or bleeding around the nail fold that doesn’t resolve
- White patches that don’t grow out over 4–6 weeks
- Nails that stop growing or grow abnormally slowly
Dermatologists often describe nails as windows into overall health. Changes in nail appearance can reflect conditions including psoriasis, fungal infections, anemia, thyroid disorders, and, in rare cases, melanoma. Early detection matters.
If you’ve injured a nail and can’t bend the finger, the nail appears black or purple, or blood covers more than half the nail bed, seek emergency care rather than waiting for a routine appointment.
The Nail Mistakes to Avoid: A Quick Reference
Before your next manicure, run through this checklist:
Before you start:
- Nails are clean, dry, and free of any old product
- Cuticles are pushed back — not cut
- Base coat is within reach
During application:
- Filing in one direction only
- Thin layers, fully dried between each coat
- Gel application leaving a clean 1–2mm cuticle margin
Ongoing care:
- Gloves for washing dishes and cleaning
- Cuticle oil applied daily
- Top coat refreshed every 2–3 days
What to stop doing immediately:
- Picking or peeling any enhancement
- Using nails as tools
- Filing back and forth
- Skipping base coat before dark shades
Frequently Asked Questions
Why do my nails keep breaking even when I take care of them?
The most common culprits are over-filing, repeated water exposure without protection, skipping base coat, and dehydration of the nail plate. It’s worth auditing each area. If breakage is severe and doesn’t improve with better habits, it may reflect a nutritional deficiency or underlying health issue — a dermatologist can rule these out.
Is it bad to wear nail polish all the time?
Not physiologically — nails don’t need to breathe. However, continuous enhancement wear without breaks makes it harder to monitor nail health, and some individuals develop product sensitivity over time. Periodic breaks also allow any staining or surface changes to become visible. Every 8–12 weeks of wear followed by a short break is a reasonable approach.
Can I do gel nails at home safely?
Yes — with proper prep, a compatible lamp, thin layers, and correct soak-off removal. The gel mistakes section above outlines everything you need to get right. The most important rule: never peel.
How do I fix damaged nails after gel or acrylic removal?
Keep nails hydrated with cuticle oil applied twice daily. Use a strengthening base coat even when going bare. Avoid further enhancements for at least two to four weeks if the nail plate is noticeably thin. Nails grow roughly 3mm per month, so full recovery typically takes two to three months of consistent care.
What’s the healthiest nail shape?
Shorter oval and rounded shapes distribute stress most evenly across the nail and are least prone to breaking under pressure. If you want to experiment with different shapes before your next appointment, our best summer nail shapes guide for 2026 covers the options in detail.
Do nails need a break from gel and acrylics?
Not for physiological reasons — but periodic breaks allow you to check nail health, spot any changes early, and let any skin sensitivity settle before your next service. If your nails consistently feel thin or look damaged between services, that’s a signal something in the application or removal process needs adjusting.
How can I make my nail polish last longer?
Start with completely clean, grease-free nails. Apply a base coat. Use two thin color coats rather than one thick one. Seal with top coat and cap the free edge. Reapply top coat every two to three days. Wear gloves for wet chores. Each step adds time — combined, they’re the difference between a two-day and a ten-day manicure.
Conclusion
Most nail frustrations — chips, breaks, lifting, staining — aren’t mysteries. They’re the predictable result of small, fixable habits: the base coat skipped, the gel layer applied too thick, the cuticle cut instead of moisturized.
The nail mistakes to avoid are usually the ones that feel like shortcuts. Taking the extra two minutes to prep properly, file in one direction, and cap the free edge with top coat isn’t just nail care advice — it’s the difference between a manicure that lasts three days and one that lasts three weeks.
If you’re ready to level up your nail routine, start by exploring nail shapes and styles that suit your hands, or use our virtual nail color preview tool to plan your next manicure before you open a single bottle.
And if your nails are showing changes that don’t look like they’re going away — see a dermatologist. Sometimes the most important nail care step isn’t a product. It’s paying attention.
Sources
- American Academy of Dermatology — Healthy Nail Tips and 12 Nail Changes a Dermatologist Should Examine
- Mayo Clinic — Fingernails: Dos and Don’ts for Healthy Nails
- U.S. Environmental Protection Agency — Recommended Cleaning Procedures for Foot Spa Basins