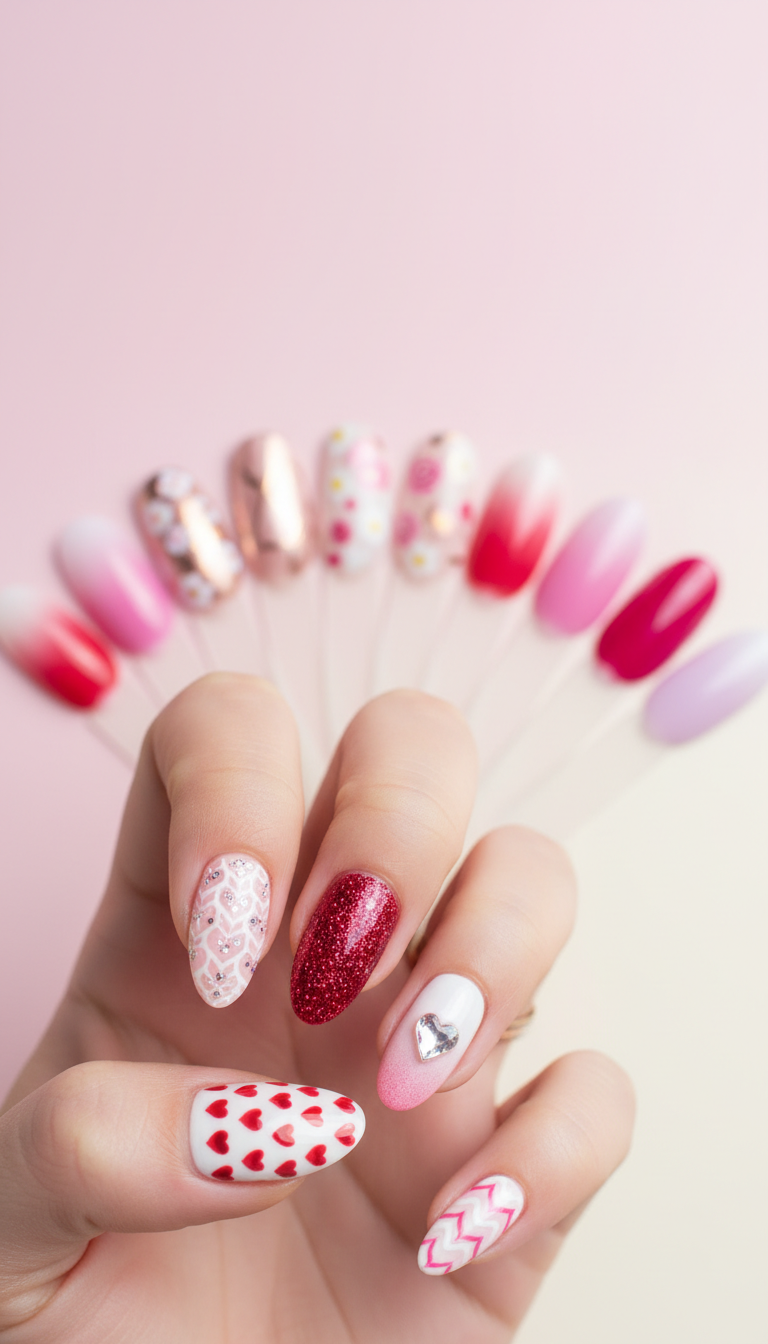
9 Stunning Icy Nail Ideas to Elevate Your Winter Look
A frosty manicure is a great way to add some winter charm to your look. The shimmery or metallic finish is often associated with icy nail art. It automatically adds a glamorous flair.
This season, consider trying out a unique nail design that captures the essence of winter. With 10 stunning icy nail ideas, you can take your winter look to the next level.
The Enchanting World of Winter Nail Art

Winter brings a magical change to nail art, turning it into a frosty canvas. If you love the cold or enjoy flashy designs, winter nail art has something for you. It offers a variety of icy designs to make your nails stand out.
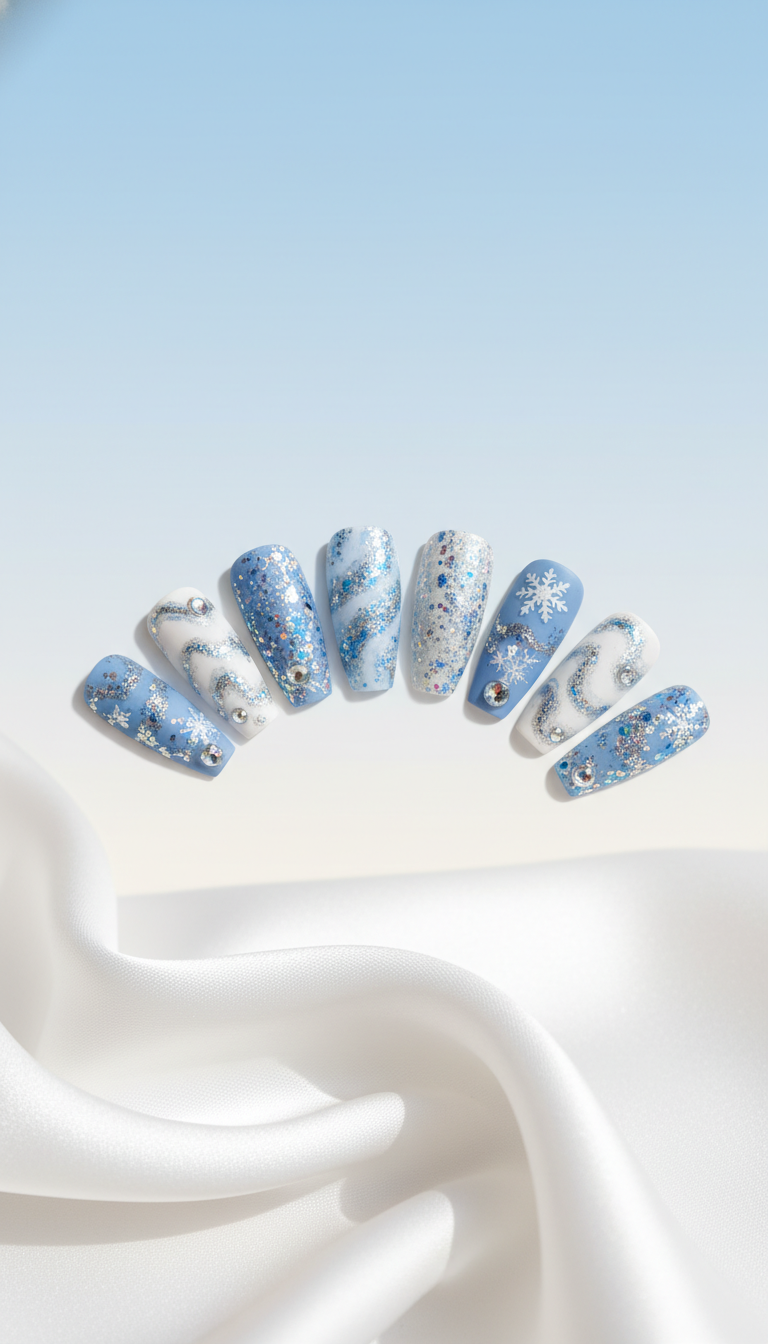
There are endless choices, from simple elegance to bold statements. You can choose classic silver or white icy designs. Or, you can get creative with snowflake patterns and holographic effects.
From Simple to Statement Pieces
Icy nail designs can be anything from simple to stunning. For a quiet look, try pale blue or frosted white polish. For something more eye-catching, go for holographic or glittering icy blue nails.
With 21 icy nail ideas for winter, you’ll find the perfect match for your style. Whether it’s for a holiday party or just to brighten up your day, these designs will wow everyone.
Classic Icy Nails: Shimmering Silver and White

This winter, make your nails stand out with icy nails in shimmering silver and crisp white. Aura nails add a special touch to icy designs, making them perfect for the cold weather.
White nails are always in style for a clean look. Start with a base coat, then white polish, and finish with a top coat for shine.
White Nails for a Clean and Crisp Finish
Try a shimmering silver accent nail for a fancy touch. It’s great for special events or daily wear.
For a unique look, play with different finishes like matte or glossy. This adds contrast to your icy nails.
Crystalline Frost Tips: Elevating the French Manicure

Make your winter nails stand out with crystalline frost tips. This season, rich neutrals, berries, and cosmic hues are in. It’s the perfect time to try icy nail art.
Adding a Frosty Twist to Classic Nails
To add a frosty twist to your French manicure, start with a base coat and a neutral or white polish. Then, apply a silver or icy blue glitter polish on the tips. This creates a frosty look.
For a bold look, add some icy blue nail polish nail art. You can draw snowflakes, geometric patterns, or a subtle gradient. The goal is to mix frosty elements with the classic French manicure.
To keep your icy manicure looking great, apply a top coat often. This prevents chipping. With these tips, you can make your winter nails pop.
Adding crystalline frost to your French manicure brings winter magic to your look. Whether for a holiday party or everyday style, these tips will wow everyone.
Holographic Ice Queen Designs

Imagine having nails that shimmer and shine like ice, captivating everyone around you. Holographic ice queen designs create a mesmerizing, icy effect on your nails. With the right techniques and products, you can achieve a stunning, holographic look that’s perfect for winter.
Ice Queen Inspiration for Your Manicure
To start, you’ll need a few essential products: a holographic top coat, a silver or white base coat, and some glitter polish for added sparkle. Begin by applying the base coat to your nails, followed by a layer of glitter polish. Finish with the holographic top coat to give your nails a 3D, icy effect.
For a more dramatic look, consider adding some ice-inspired nail art. You can use nail guides or stickers to create designs, such as snowflakes or icicles. Seal your design with a top coat to ensure it lasts.
Intricate Snowflake Nail Art

I love making snowflake patterns on my nails in winter. Snowflake nail art adds winter charm to your look. With basic tools and practice, you can make stunning icy designs.
You’ll need a pale blue or white nail polish, a dotting tool, and a brush. Use these to layer lines and dots on your nails. Varying dot and line sizes makes your snowflakes look real.
Snowflake Inspiration for Winter Nails
Look at real snowflakes for inspiration. You can find images online or in nature. Use geometric shapes and lines to capture a snowflake’s essence.
Start with a base coat on your nails. Then, paint a pale background with nail polish. Use a dotting tool and brush to paint your snowflake, starting from the center. Finish with a top coat for shine.
With practice, you can get good at snowflake nail art. Try different colors and patterns to find your style. It’s perfect for winter weddings or adding festive flair to your look.
Glittering Icy Blue Nails for Special Occasions

Make a statement at your next special occasion with glittering icy blue nails. They shine like diamonds. Whether it’s a winter wedding, holiday party, or formal gala, these nails will turn heads.
Adding Glitter for Extra Sparkle
To add sparkle, try glitter in your icy blue nails. Use a glitter polish or loose glitter on top. For a subtle look, choose a fine glitter polish. For bold, apply more glitter or use a glitter gradient.
Make your nails special with nail art. Use a nail stamp or brush for designs like snowflakes or patterns. For drama, try holographic or chrome polish for a 3D effect.
With glitter and nail art, your icy blue nails will be unforgettable. So, why settle for ordinary nails? Make a statement with glittering icy blue nails.
Matte and Glossy Combinations for Textured Icy Effects

Mixing matte and glossy finishes adds depth and interest to icy nail designs. This combo is perfect for winter, making your nails stand out.
Begin with a base coat on your nails. Then, apply a matte top coat on some parts for a frosted look. Use glossy top coat on others for a shiny, icy finish.
Try ombre or stamping for more texture and interest. These techniques can enhance your design.
For a bold look, layer blue and white polish for a gradient. Add glitter or rhinestones for a festive sparkle.
Crystal-Embellished Frozen Designs

Adding crystals to your frozen nail design takes your winter look to the next level. Rich berry hues add a bold touch without being too much. This creates a perfect winter look.
Frozen Designs with Crystal Embellishments
Crystal-emphasized designs add glamour to your icy nails. They make your nail art stand out. Start with a base color that matches your crystals. Blues and whites are great for winter.
Apply the crystals with nail glue. You can place them randomly or in a design. The goal is to balance them with the rest of the nail art.
The result is a frozen nail design that’s both stunning and luxurious. Crystal-emphasized nails are perfect for winter parties or everyday sparkle. With creativity and practice, you can enjoy glamorous nails all winter.
Gradient Icy Nails: From Pale Blue to Deep Winter Shades

Winter is coming, and my nails are getting icy with gradient icy nails. This season, I’m all about capturing winter’s icy hues with my nail art.
Creating a gradient from pale blue to deep winter shades is simple. Choose blues that smoothly transition from light to dark. Use a sponge to apply polish, dabbing gently for a seamless look.
From Pale Blue to Deep Winter Shades
The secret to a stunning gradient icy nail is the smooth transition. Start with pale blue, then move to deeper shades. Use a makeup sponge or a special tool to blend the colors.
For extra sparkle, add glitter or shimmer to your gradient. This will make your nails shine like ice. While mocha nails are great for winter, icy nails make a bold statement.
Winter Nail Care: Maintaining Your Stunning Icy Manicure
Winter is here, and your icy manicure needs extra care. To keep your nails looking great, follow some easy tips.
Winter Nail Care Essentials
Moisturize your cuticles and nails often to avoid dryness. Use a cuticle oil or cream to keep them hydrated. A glossy topcoat helps keep the shine and protects the polish from chipping.
Don’t use your nails as tools, and wear gloves for chores. Regularly touch up your polish to stop fading and chipping.
With these tips, your icy manicure will stay stunning all season. A bit of care makes your icy nails a standout winter look.